
One Day Only Deal

Hand sanding; often a task which is extremely unpopular with woodworkers of every level, as if power sanding wasn’t arduous enough right? Some may ask why do we even need to hand sand when there are so many varieties of power sander to get the job done?
Well the simple fact is that hand sanding has many benefits over power sanding that can often be overlooked.
Firstly, a final hand sand before finishing will always give a better finish than ending with a power sander as, no matter how fine a grit you use, there will always be scratch marks left by the power tool. You can also fine tune spots that may need extra care, which could be too small for a power sander.
The ability to hand sand contours and tight spaces is another reason why hand sanding is very much required. Power sanders, even detail ones, will struggle to fit into moulding profiles that have been created by routing or spindle moulding.
Now you’ve chosen to hand sand your project, here are some of our top tips to help get you the perfect finish.
The purpose of sanding is of course to remove any marks or imperfections that have been left after machining wood.
To start off you should use paper that’s just coarse enough to easily remove the worst of the defects, in other instances you need to use as fine a grit as possible. If you start with a grit that’s too coarse, you will end up having to do more work to remove the scratches caused.
In most situations the starting grit will be 80-120 grit, only use 80 if there are noticeable scratch marks left after machining, otherwise it’s best to go finer to 100 or 120.
Once you have found you’re starting grit, work through the grits systematically, and don’t be tempted to miss major steps in between. If you skip a grit, it will take longer as the finer grit will be less able to remove the initial sanding marks. Starting at 80? Move onto the next level of coarseness, which is either 120g or 150g before moving onto the the very fine grits around 220g.
In most cases, this will be the finest grit you need to go down to. But it’s always best to take a final look with a low angle light to double check.If there are any more residual scratches, keep going.
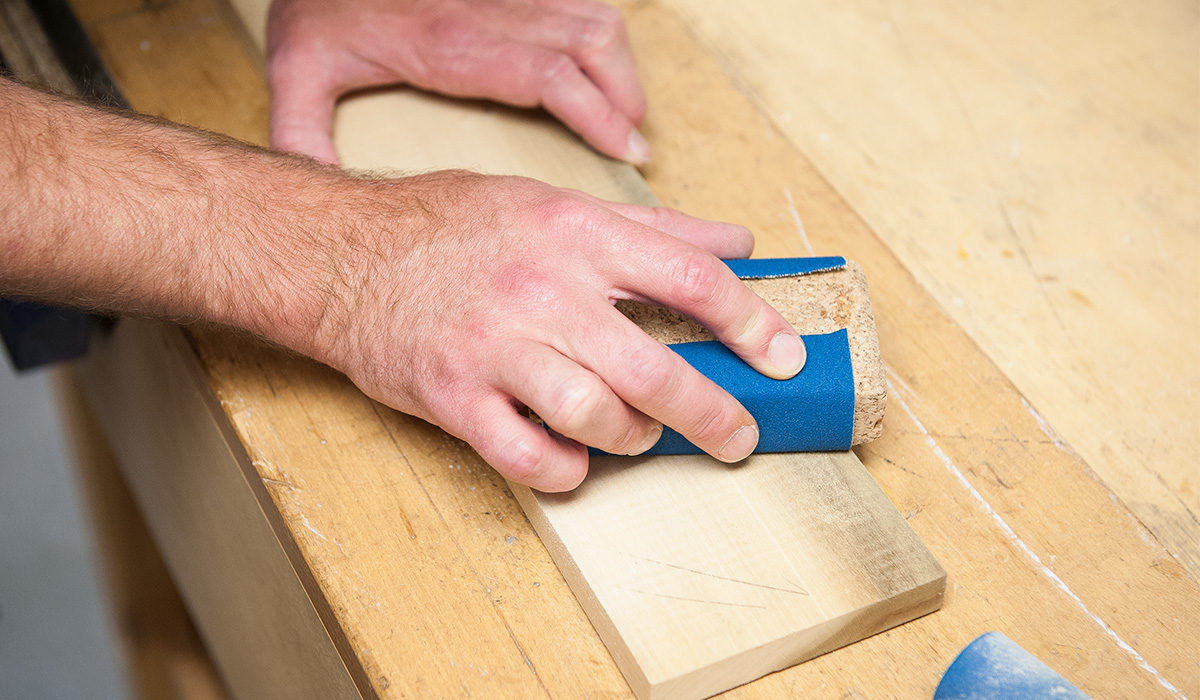
For flat surfaces, sanding blocks are a must as this will increase the speed and efficiency of your work as well as providing a more even finish due to weight being distributed evenly across the block.
Some people may just fold an abrasive sheet and get to work but if you’re after great results, it probably won’t suffice. The cost of the effort you put in will be far more than the price of a sanding block.
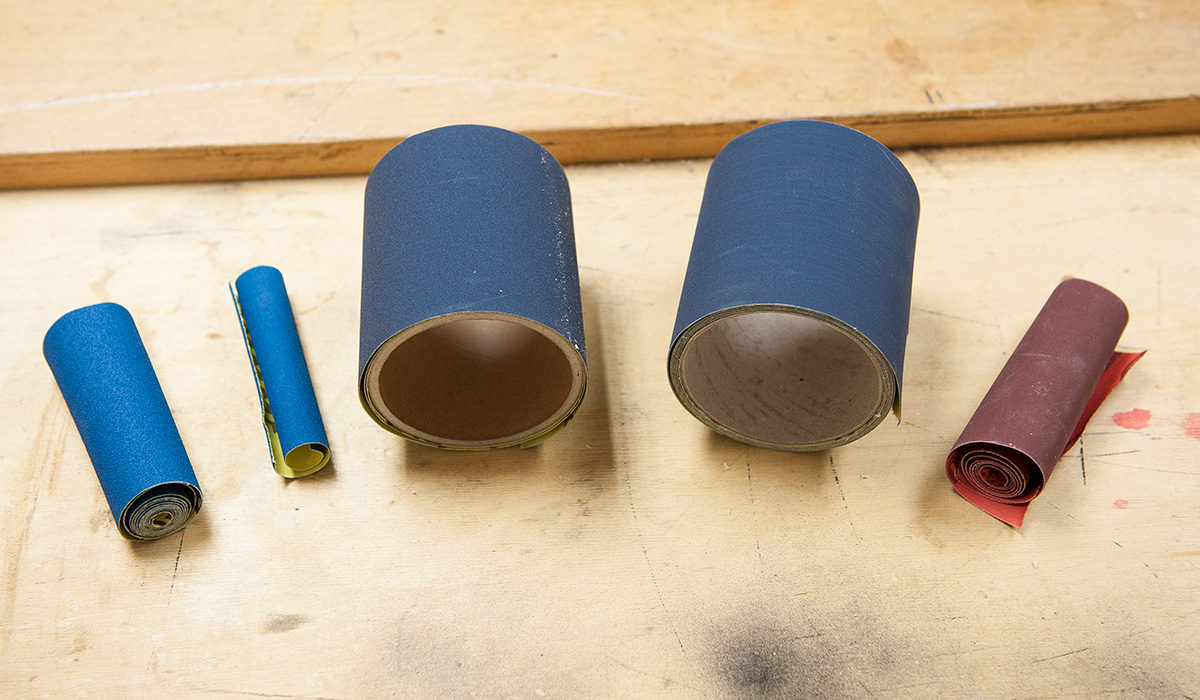
For the more traditional people out there, a cork block wrapped in an abrasive is as good as it gets and is also a very pocket friendly option.
But for the ultimate in comfort and efficiency we recommend using hand blocks such as these below.

When using a sanding block, replace your abrasive as often as possible, otherwise the finish will be poorer due to reduced efficiency of the paper.
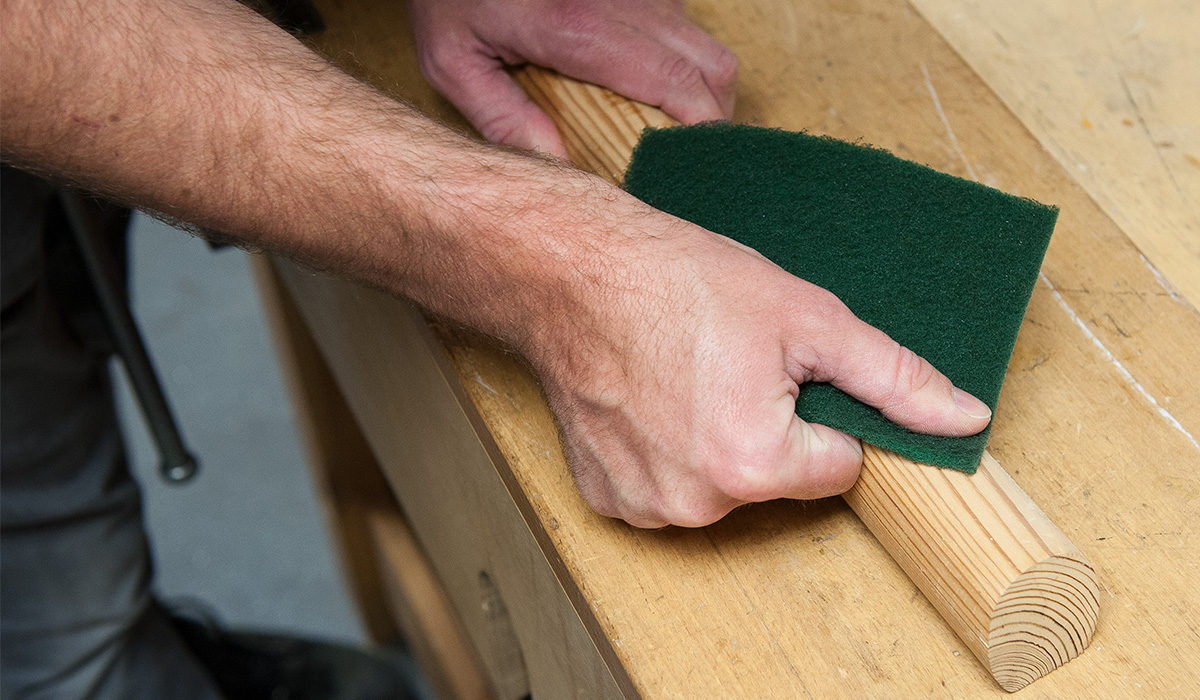
When sanding woods such as pine or fir, the resins will often clog standard abrasives very quickly resulting in poor performance. This is also the case when taking paints or varnishes off woods for restoration projects. To alleviate this problem and the hassle of constantly changing abrasive, we recommend using clog-resistant or non-clogging paper.
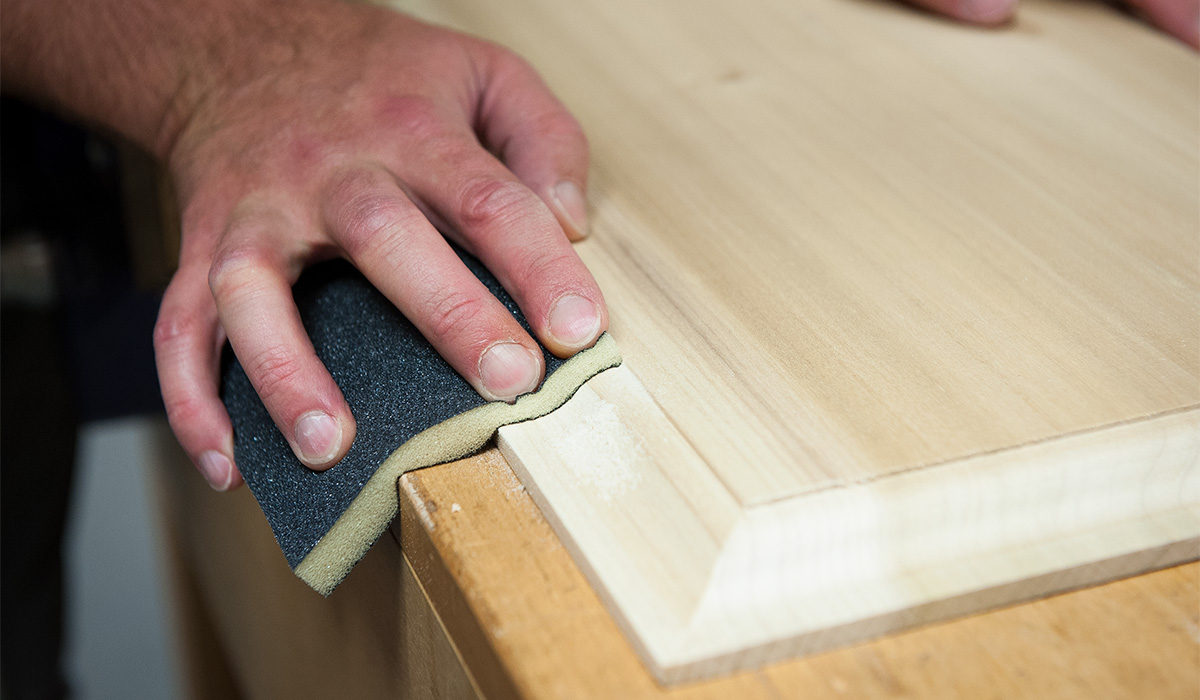
When creating a decorative edge with a router one of the easiest ways to remove any scratches or burn marks is to use an abrasive sponge. Flexible sponges can easily be shaped to fit the contours of the moulding to ensure an even connection with the face of the wood. Remember to start sanding before the burn so there isn’t an obvious recess where the original mark was located.
Start with a grit that’s just coarse enough to remove most of the imperfections and then work your way to a finer grit as they become less pronounced.
The golden rule of hand sanding is to make sure to sand with the grain as this will prevent any tear out of wood fibres which can easily show especially when the wood is stained. If this is unavoidable there’s a balance between getting the wood coarse enough for staining yet still fine enough so the scratches don’t show and this all comes with practice.
Comments
Leave a comment